How do you complete the Point Hope Lighthouse Keeper Badge challenge? With the introduction of Point Hope in the Eventide update, Phasmophobia gains one of its most unique and dynamic maps to date. Unlocked at level 17, this lighthouse features 10 vertically stacked floors and 13 rooms.
The map includes new challenges, a complex puzzle, and collectible ID cards and badges that can be earned by completing them.
What is Phasmophobia’s Lighthouse Keeper Badge Challenge

To complete the Lighthouse Keeper challenge and unlock the Lighthouse Keeper ID Card and Badge, ghost hunters must begin an investigation at Point Hope, correctly identify the ghost, and survive until the end 50 times. Because of untimely deaths and incorrect guesses (let’s be real, Mimics), it might take more than 50 contracts to complete this challenge.
This challenge might seem daunting initially, but there are plenty of ways to make it more manageable. In this guide, we will cover some tips & tricks to make getting the Unique ID Badge and Card slightly easier.
Lighthouse Keeper Challenge Tips
This challenge is an open-ended contract, so we can’t cover precisely what you need to do, but these helpful tips can make the difference in completing the Lighthouse Keeper Challenge. Here’s our best tip to get you through it. Good Luck!
Keep Track of Progress

If you are unsure how far into the challenge you are or what you need to do, the event board by the van will show you not only the challenge prerequisites but also your overall progress—as well as any other ongoing events or challenges we may already have covered in our other guides.
Check here often so you know how close you’re getting!
Learn the Map
Officially, Point Hope is classified as a “small” map, but don’t let that fool you—its vertical layout and active ghosts make it feel anything but small. One of the best things you can do is take time to learn the layout to make your investigations smoother.
Some floors are dedicated rooms, such as the 3rd being the game room, where a breaker and the Ouija board can spawn. Or the floors that are dedicated to bedrooms or bathrooms with sinks. Knowing these details and where you could hide during a ghost hunt makes this challenge easier.
You can also find helpful maps or cheat sheets online to get familiar with cursed possession locations, hiding spots, and breaker spawns. A little planning goes a long way.
Tip: There are many ambient sounds on Point Hope, so it might be easy to mistake them for activity. Keep an ear out!
Play on Amateur Difficulty
While the Apocalypse challenges have specific settings as prerequisites, this one can be completed on any difficulty, from the previously discussed Amateur to Insanity.
If you want to take your time and not worry about ghost hunts, you can stick the difficulty on Amateur. Then, you can really use the time to study and be sure you’re getting the right ghost.
That said, however, intermediate or professional will be easier because more activities mean an easier time figuring out the ghost!
Or Create a Custom difficulty
The most time- and energy-efficient way to grind the Lighthouse Keeper Challenge is by creating a custom difficulty and adjusting settings like Cursed Possessions, ghost friendliness, or ghost activity to match your preferred playstyle. This will give you the best of both worlds: quick evidence and a more relaxed experience without worrying about ghost hunts.
Recommended difficulty settings to adjust:
- Friendly Ghost - True This option will prevent the ghost from hunting completely
- Cursed Possessions - 7 This will force the maximum amount of Possessions to spawn, covered later in this guide.
- Activity Level - High A higher chance of ghost activity means an easier time with EMF, D.O.T.S, and Ghost Writing
- Event Frequency - High Somewhat less helpful, but ghost events are a good way to test for EMF or poltergeists
- Sprinting - Infinite This will save a lot of time if the ghost decides it enjoys the bathroom six floors up.
You won’t technically earn money or XP to finish a contract with these settings, but you will still make progress in this challenge.
Play with friends!
As mentioned earlier, you’ll need to identify the ghost 50 times, which can feel daunting. That’s why the next tip is to team up with friends or fellow ghost hunters using the multiplayer matchmaking feature. It makes the grind not only more efficient, but a lot more fun too.
There are several advantages to bringing a team. More people means more equipment gets brought in and set up quickly, which helps speed up the investigation. Another bonus: even if you go down, the game doesn’t end. As long as one teammate is still alive, the contract continues—unlike solo runs, where it ends as soon as the ghost gets you. That said, no progress is earned if they don’t revive you.
Investigating solo means hauling gear in multiple trips, missing clues with fewer eyes on the scene, and losing all progress if the ghost catches you.
Tip: You only get progress if you survive and ID the ghost—if you die, no credit. Stay sharp out there!
Minimize Risk: Pop Pills, Use Crucifixes

The salt crucifixes are purely optional, by the way.
Aside from figuring out which ghost you’re dealing with, one of the most important parts of this challenge is getting out alive. As soon as you can, place Crucifixes in the ghost room and light Incense if the ghost starts getting a little too chummy. Don’t use Cursed Possessions early on. And finally, try to keep your sanity above 80% using Sanity Pills; most ghosts can’t hunt while you’re above that threshold.
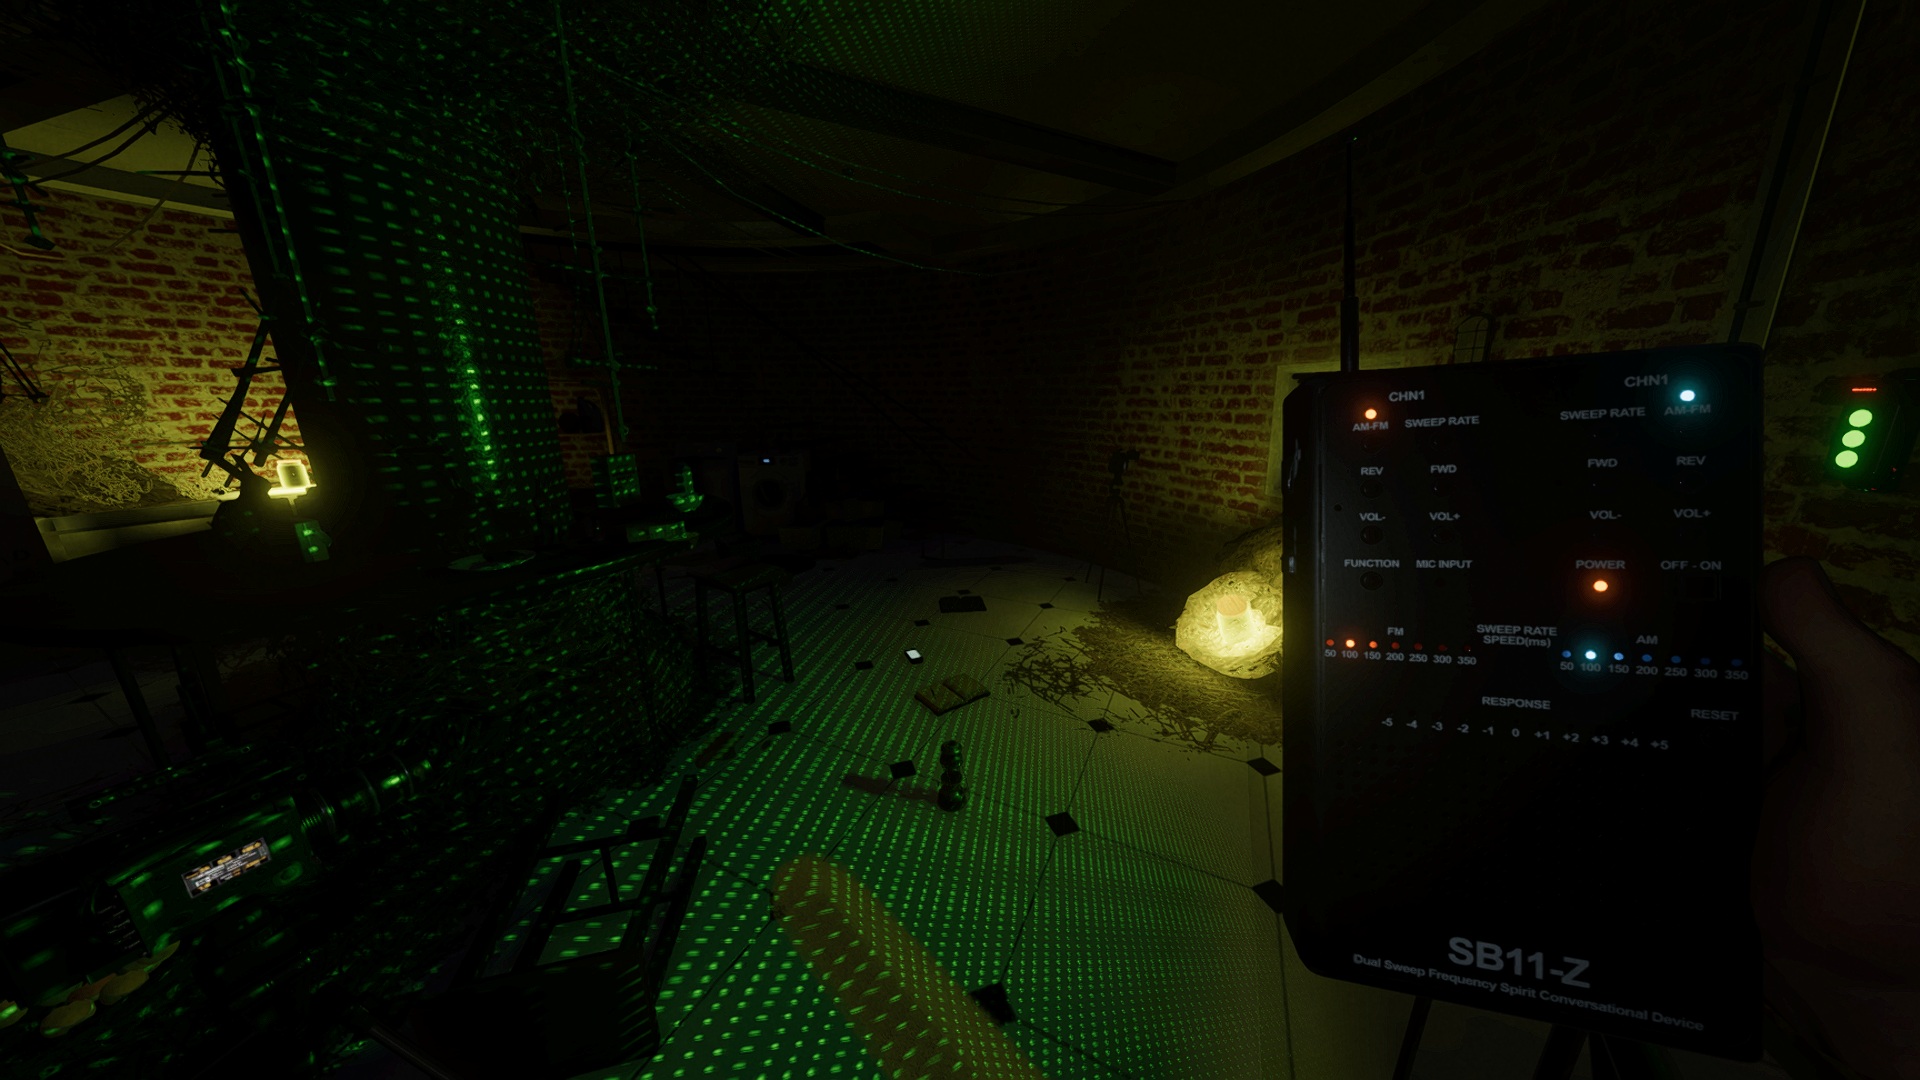
Use Cursed Possessions (carefully!)
Okay, I know we just said not to mess around with Cursed Possessions and to, quote, “play it safe.” But safe doesn’t always mean fast… or fun. Cursed Possessions are high-risk, high-reward tools that can help you gather the three pieces of evidence needed to identify the ghost.
There’s no guarantee you won’t trigger a cursed hunt, so again, it’s best not to use them, get set up first, and stick to conventional methods early on.

Still a safer family choice than Monopoly.
Each regular contract features only one Cursed Possession, but you can create a custom difficulty to force the others to spawn. Out of the seven available, these are the most useful for completing the challenge:
- Haunted Mirror: Reveals the ghost’s room, making setting up equipment early on easier.
- Ouija Board: Ask ‘Marco’ and wait for the ‘Polo’ response to trigger a possible EMF 5 reading.
- Voodoo Doll: Each pin will cause an interaction, at the cost of 5% sanity and a slight chance to start a cursed hunt.
- Tarot Cards: Offers various effects. One of the most useful is The Tower, which increases activity for 60 seconds (doubling ghost activity).
- Monkey Paw: This is a wild card, but asking for activity might help get you more evidence.
Always be near a hiding spot or have Incense ready when using cursed items—just in case the very real ghost hits the proverbial fan.
Beware the Mimic
There is a saying that if it moves like a Hantu and breathes like a Hantu, it’s probably a mimic. One of the biggest obstacles you will come across will be a Mimic. These crafty ghosts copy the abilities and behaviour of other ghosts and can cause you to misidentify and fail a contract.
The three pieces of evidence of a Mimic are Ultraviolet, Freezing Temperatures, and Spirit Box. A fourth fake ghost orb is always present. The mimic will change behaviour every two and a half minutes. If you notice the ghost is slower and different with ghost orbs present, it might be a mimic!
Tip: If you get ghost orbs and it doesn’t make a ghost in your journal, that’s a sign of fake mimic Ghost Orbs!
For the latest gaming news, follow GameWatcher on BlueSky, check out our videos on YouTube, or give us a like on Facebook. We sometimes include affiliate links in our posts, which grants us a small commission, thank you. Please support independent Games Media. ❤️